Articles tagged with Raspberry Pi:

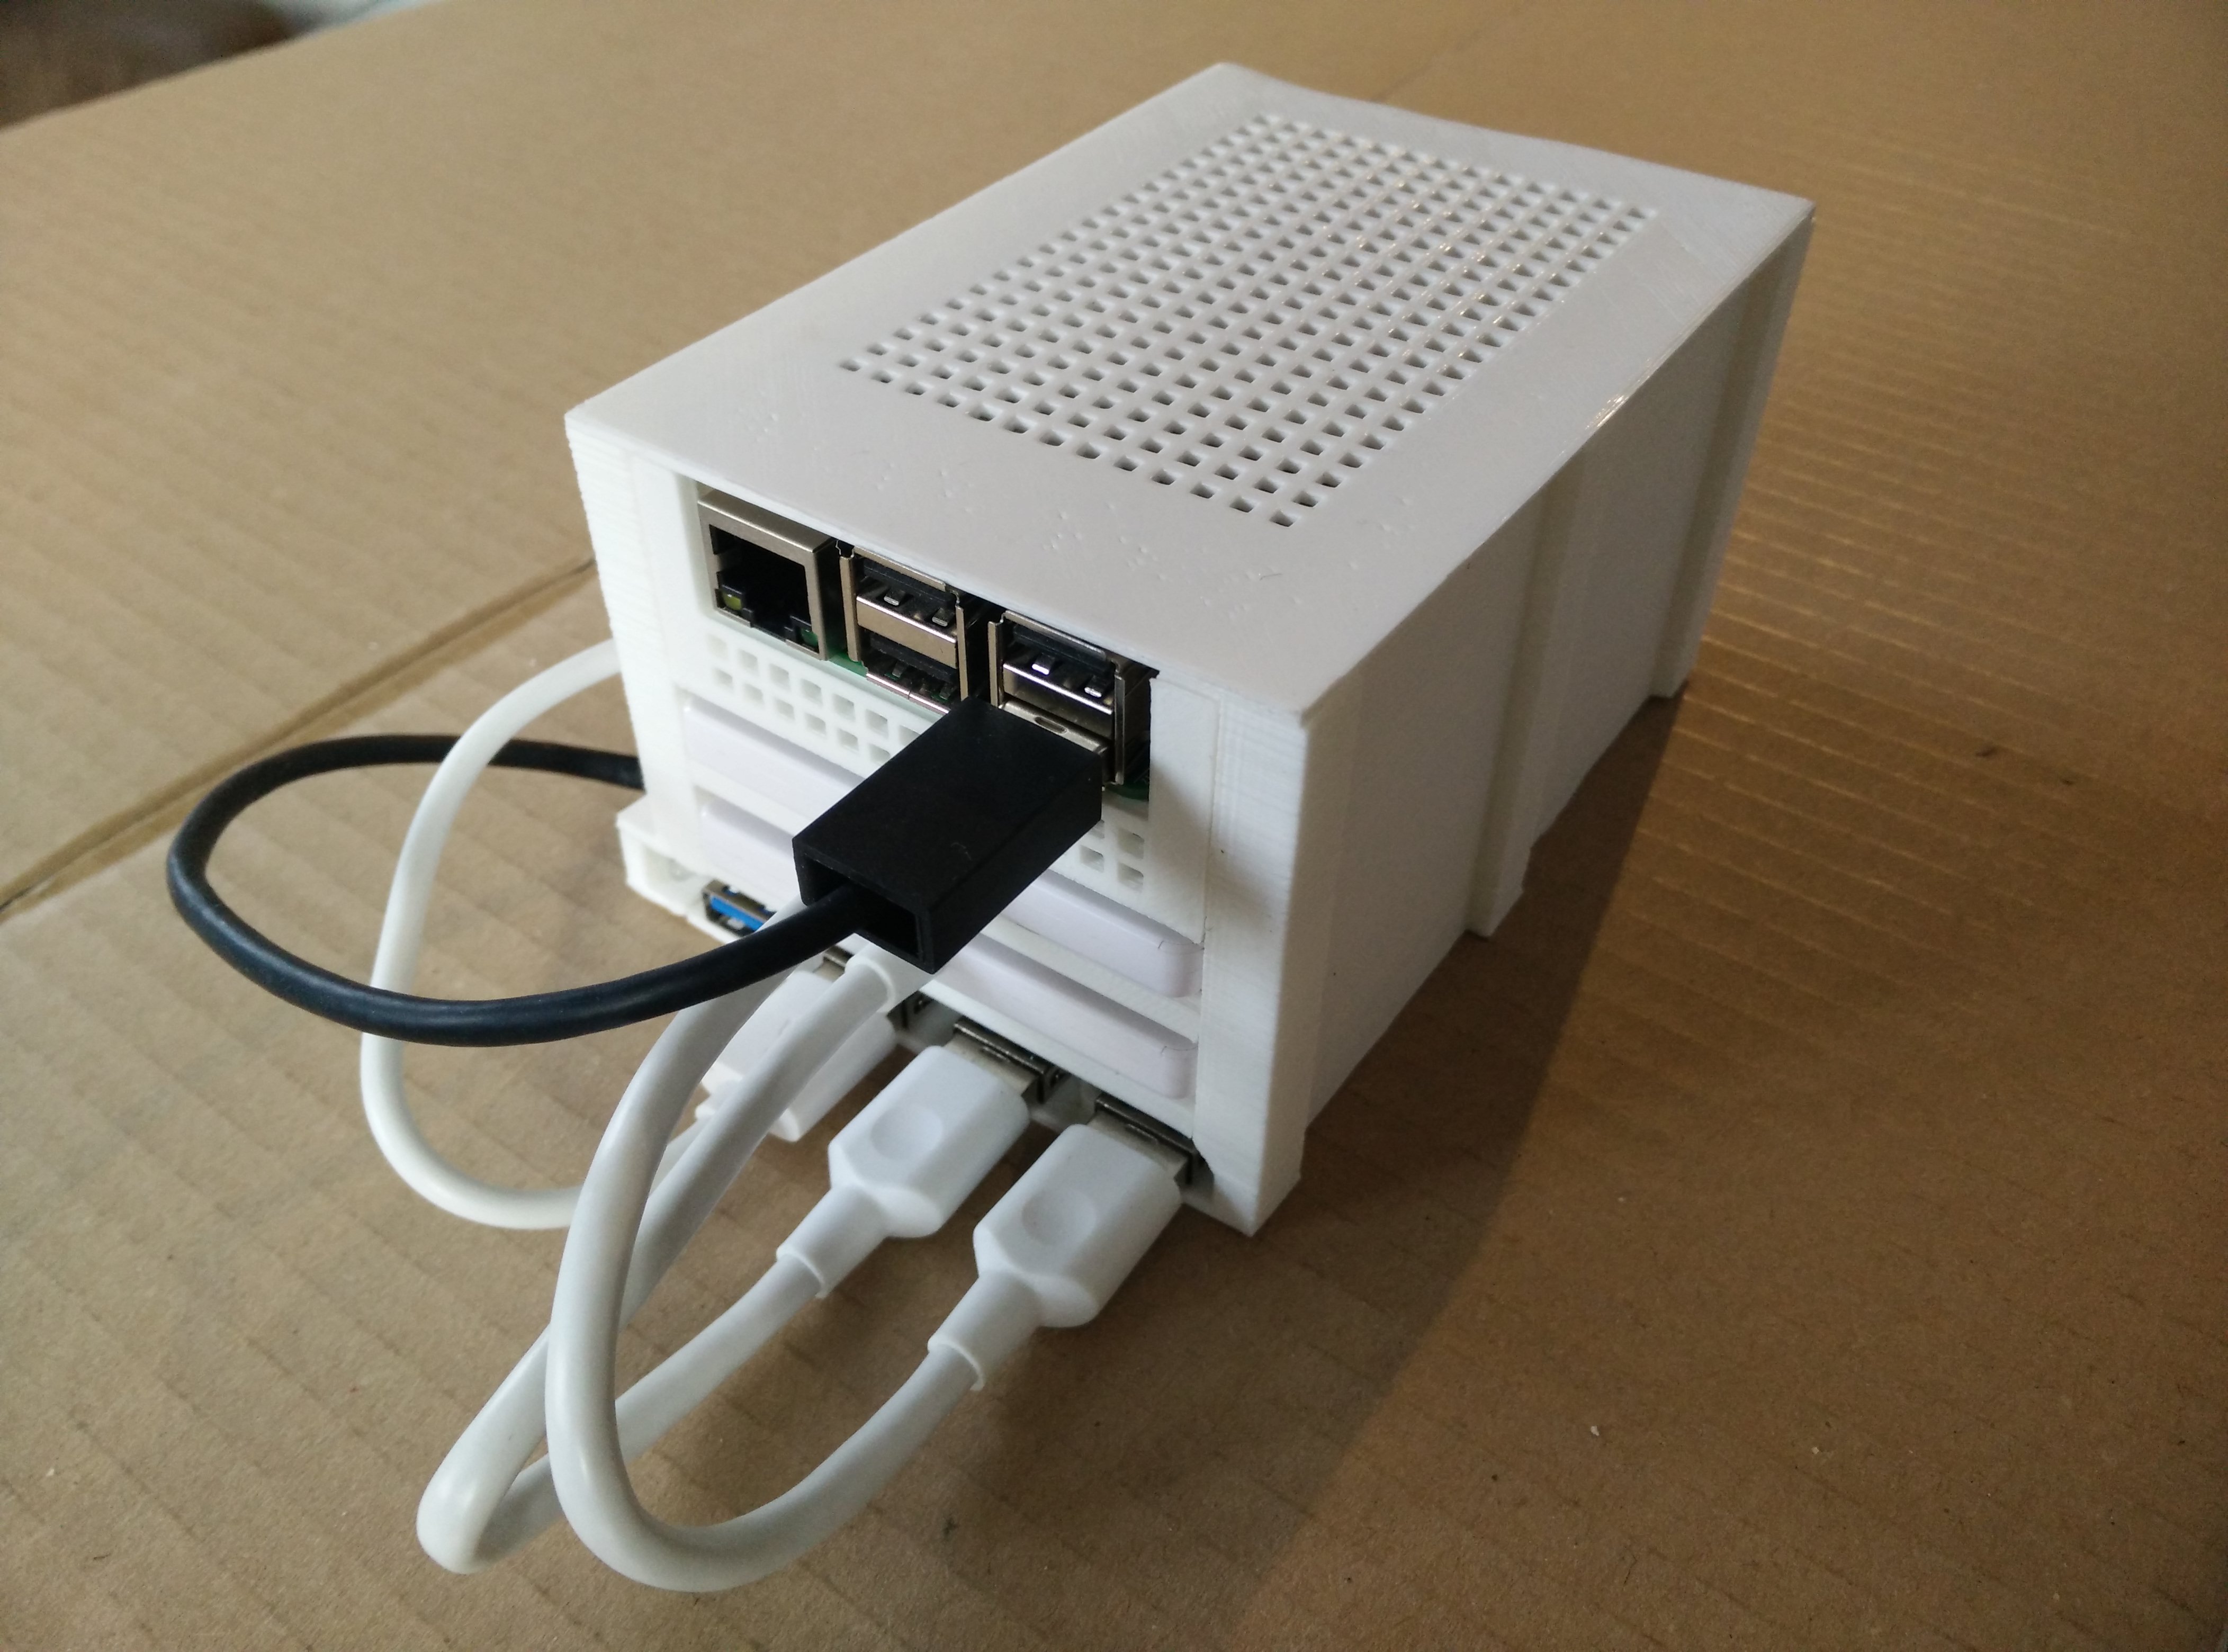
  • Enumerating Raspberry Pis

    After installing a freshly-copied microSD card in a headless Raspberry Pi, there is sometimes an awkward moment. The Raspberry Pi boots in its default configuration and obtains an address from DHCP, then you need to SSH into it. However, even if in general the Raspberry Pi can be found with its domain name (raspberrypi by default) using a local DNS server or mDNS, it can also become a pain sometimes, for instance when you configure multiple Raspberry Pis at the same time.

    In situations where ssh pi@raspberrypi.local does not work, you need to scan the local network to find the Raspberry Pis, which can be achieved with nmap. Raspberry Pi devices can be recognized because their MAC addresses are issued by the organization "Raspberry Pi Trading".

    This allows to automate the discovery process by enumerating interfaces with ip then enumerating the Raspberry Pis on each interface with nmap:

    #!/bin/bash
    
    echo "Looking for Raspberry Pis..."
    IFACES=$(ip -4 -o addr show | awk '/docker0/ {found=1; next} /scope global/ {print $4}')
    RPI_ADDRS=()
    for IFACE in $IFACES; do
        echo "Scanning on interface $IFACE..."
        ADDRS=$(sudo nmap -n -sP "$IFACE" | grep …

  • An enhanced 3D-printed NAS

    I got numerous comments about my 3D printed NAS. An issue encountered by multiple people is that it is now virtually impossible to come around a similar USB hub. Indeed, I used a store brand one and the product has been discontinued for some time...

    Let's build an enhanced version solving that issue!

    The finished NAS

    The finished NAS

    The first version of the case was designed with OpenSCAD and 3D-printed. I modified it to accomodate a new wider 4-port USB hub and a more efficient 40mm fan at the rear instead of the small one on the lid. You can download the new SCAD source files and STL files here (licensed under GPLv3).

    3D models of the enhanced case

    3D models of the enhanced case

    In addition, we'll use the following elements:


  • A High-Tech Minitel

    This article is the continuation of my Minitel series: a Minitel as a Linux terminal, and a Minitel 2.0.

    It's rather easy to remove legacy electronics and unmount the cathodic tube from the Minitel to replace them with a Raspberry Pi and a flat screen. However, the difficult part would be adapting the Minitel's proprietary keyboard.

    Therefore, in this article, we will first make a generic USB keyboard controller for the Minitel 1B out of an Arduino board. We'll use an Arduino Pro Micro. It is roughly equivalent to the Pro Mini, except it has an on-board USB transceiver, which will allow us to configure it as a USB Keyboard. Then, we'll fit a 8-inch LCD panel to replace the old CRT. I chose an Innolux HE080IA-01D panel with driver board. Its dimensions and 1024x768 resolution make it a perfect candidate for our use case here.

    The Minitel's keyboard is a simple matrix one. Key presses close circuits, and by continuously scanning the matrix, the controller can deduce which keys are pressed. Sadly, the matrix is non-standard, so we have to retro-engineer it...

    The keyboard contact board extracted from a Minitel

    The keyboard contact board extracted from …


  • A Minitel 2.0

    This article is the continuation of my previous article on the Minitel.

    These are dark times we live in. Far from the original design of the Internet whose cornerstone was decentralisation, the Web has created a split between servers and clients, between service providers and service consumers, between the ones who harvest data and the ones who are harvested. To use the expression forged by Benjamin Bayart (in French), the Internet is bascially converging back to a Minitel 2.0.

    Let's take the statement literally and build an actual Minitel 2.0!

    My idea is simple: there is an unused extension bay at the rear of the Minitel 1B where we can lodge a Rasberry Pi connected to the Minitel as its terminal. This will effectively add modern Ethernet, Wifi, and USB connectivity to a 35-year-old Minitel.

    To hold the Pi, I designed and 3D-printed a replacement for the rear panel. The OpenSCAD source and the STL models are available here (under GPLv3).

    Replacement for the rear panel holding the Raspberry Pi

    Replacement for the rear panel holding the Raspberry Pi

    The support piece is printed separately, then clipped and glued to the panel before the Pi is secured …


  • Eyepot - Programming

    Let's program the robot I built in the previous article!

    The Eyepot works by using in conjunction a Raspberry Pi Zero W and an Arduino Pro Mini connected by a serial link. Therefore, we'll write the Arduino code first, then a Python program for the Raspberry Pi. Then, we'll setup remote control from a web browser.

    You can find the entire source code for the project licensed under GPLv3 on my repository on GitHub.

    The finished Eyepot moving

    The finished Eyepot moving

    Arduino program

    The Arduino Pro Mini is responsible for driving the eight servos of the legs. Commands to specify target angles are sent from the Raspberry Pi through a serial link.

    The custom serial protocol is text-based and quite simple. It can easily be typed manually when debugging, but it is still compact enough to allow short transmission times even at low bitrates. Each line contains a one-character command, an optional space, and an optional parameter as a base-10 integer. Implemeted commands are as follows:

    • 0 to 7: store target angle for corresponding servo (0 to 7)
    • R: reset stored target angle to default for each servo
    • C: commit stored target angles …

  • Eyepot: a creepy teapot

    What has four legs but only one eye? A teapot of course!

    My new robot is based on a Raspberry Pi Zero W with a camera. It is connected via a serial link to an Arduino Pro Mini board, which drives servos. Since each one of the four legs will have two articulations, each with one servo, we need eight servos in total.

    Here is a list of the material we will use:

    Let's start by designing and printing the parts. I use OpenSCAD, and print with white PLA, as usual.

    View of the 3D models set

    View of the 3D models set

    You can download the SCAD source files (licensed under GPLv3) and …


  • A small 3D-printed NAS

    EDIT: I published an updated version of the NAS in a more recent article.

    Network-Attached Storages (NAS) are very handy devices on a home network. They offer a simple way to share or synchronize files, and can host various useful services at the same time provided they are generic enough. A NAS being nothing more than a specialized file server, we will actually build a small home server than will be able to do anything.

    The functions can be the following:

    • File server (FTP, NFS, SMB/CIFS...)
    • Streaming server (audio or video on the local network)
    • Personal web server (to host a website, synchonize contacts or send files to people)
    • Local seedbox (to download torrent files)
    • Domotic hub (for instance by adding a Zigbee USB dongle)

    The server will be pretty simple in its technical design: a Raspberry Pi 2 model B with two hard disks connected with USB adapters.

    The finished NAS featuring a Raspberry Pi 2

    The finished NAS featuring a Raspberry Pi 2

    The Raspberry Pi is actually not able to power the two drives over USB, since we would need 500mA per drive, so 1000mA overall, and the Pi can only supply 600mA over …


Categories
Tags
Feeds