EDIT: I published an updated version of the NAS in a more recent article.
Network-Attached Storages (NAS) are very handy devices on a home network. They offer a simple way to share or synchronize files, and can host various useful services at the same time provided they are generic enough. A NAS being nothing more than a specialized file server, we will actually build a small home server than will be able to do anything.
The functions can be the following:
- File server (FTP, NFS, SMB/CIFS...)
- Streaming server (audio or video on the local network)
- Personal web server (to host a website, synchonize contacts or send files to people)
- Local seedbox (to download torrent files)
- Domotic hub (for instance by adding a Zigbee USB dongle)
The server will be pretty simple in its technical design: a Raspberry Pi 2 model B with two hard disks connected with USB adapters.
The Raspberry Pi is actually not able to power the two drives over USB, since we would need 500mA per drive, so 1000mA overall, and the Pi can only supply 600mA over USB. There is a possible boot setting in /boot/config.txt called max_usb_current, which when set to 1 raises the maximum current intensity over USB to 1.2A, but since it is applied only during boot, our disks will still prevent the Pi to actually start properly. For this reason, we need a USB hub with a 2A adapter to power everything and connect the drives to the Pi. Backfeeding would be quite a bad idea, so the Pi needs to be connected to the hub twice, once as a device for power and once as the host.
In this kind of setup, always pay attention to use a genuine power adapter that will be able to handle the load, some really cheap adapters are rated 2A but might not be able to supply this current over a long period of time due to overheating.
I designed the case, front panel and lid with OpenSCAD to print them in 3D. You can download the SCAD source files and the corresponding STL files here (licensed under GPLv3).
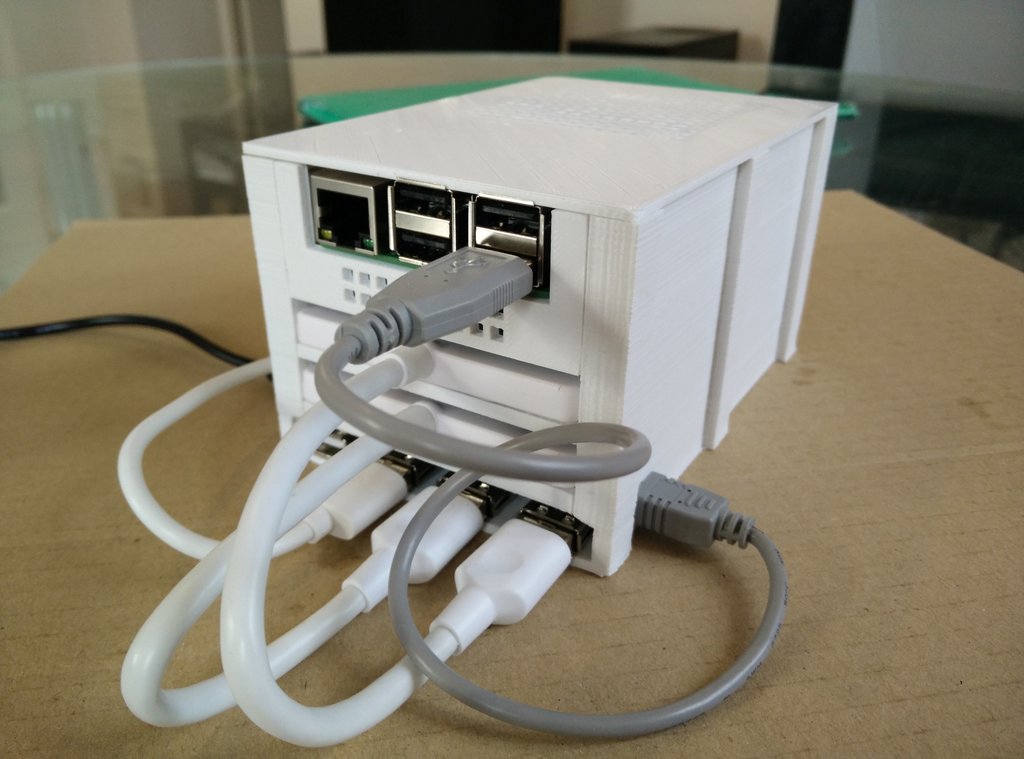
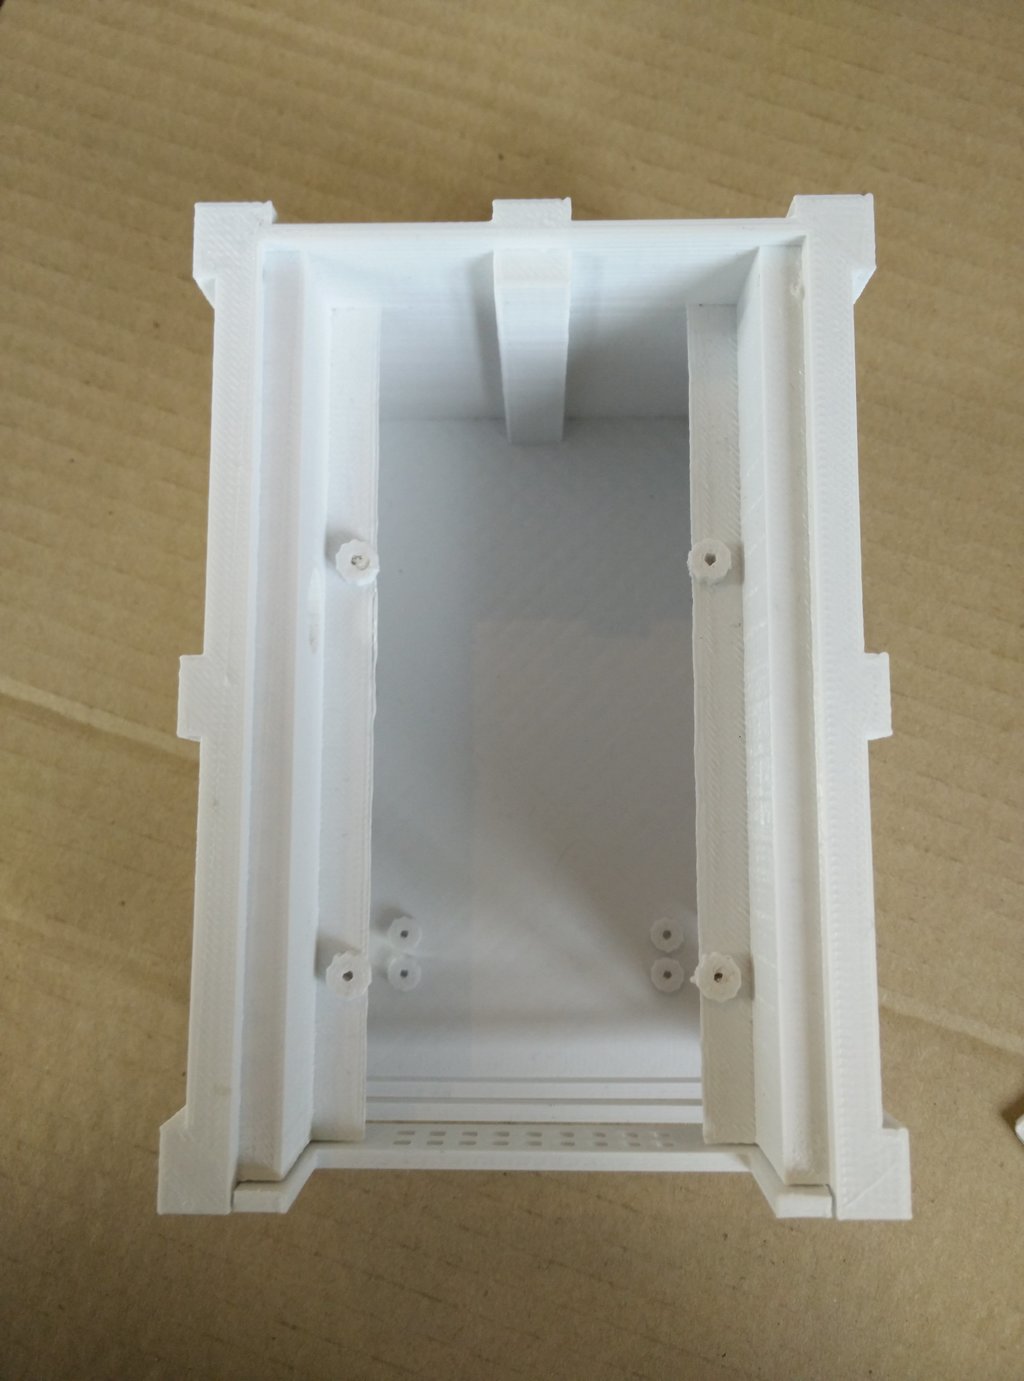
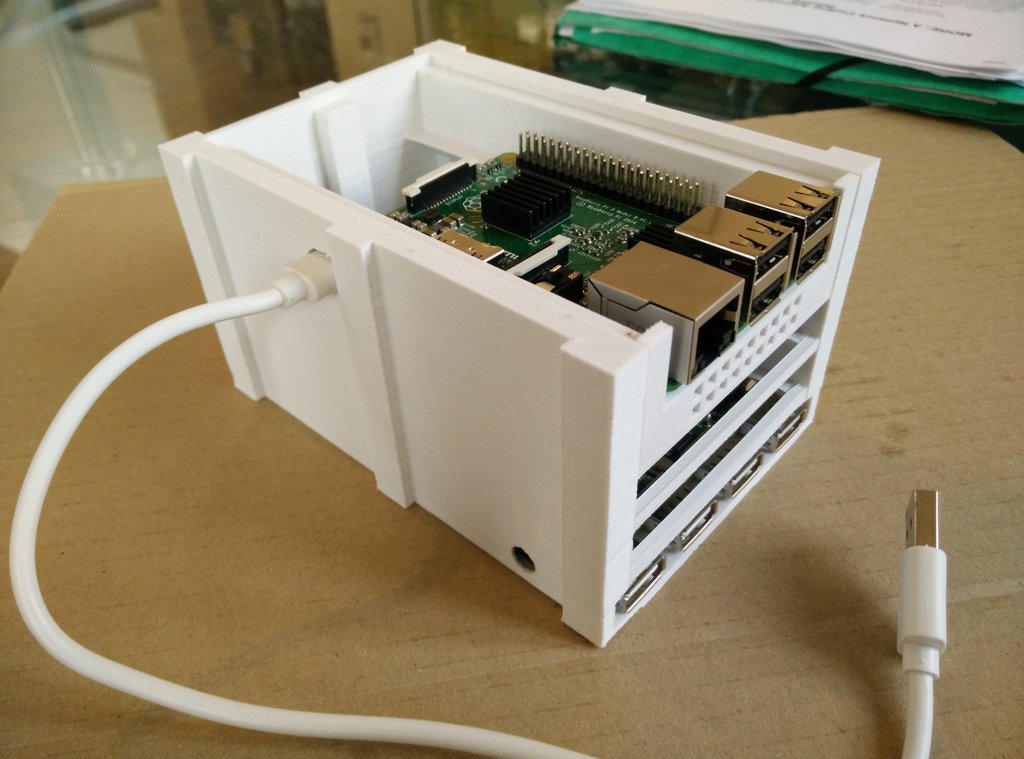
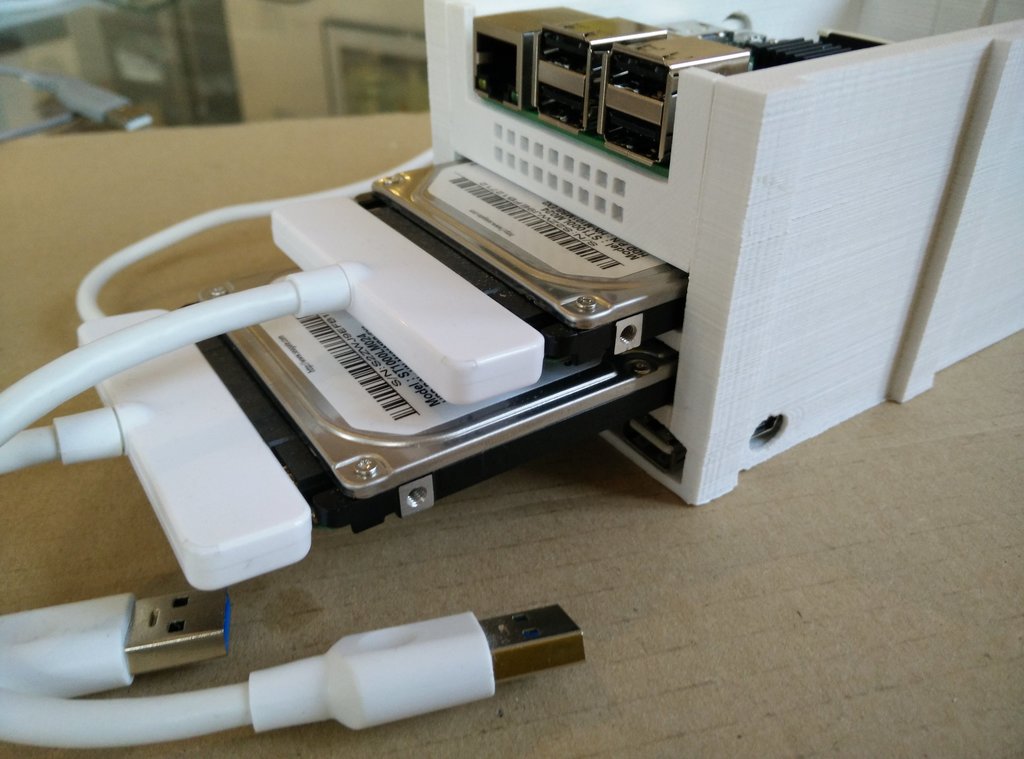
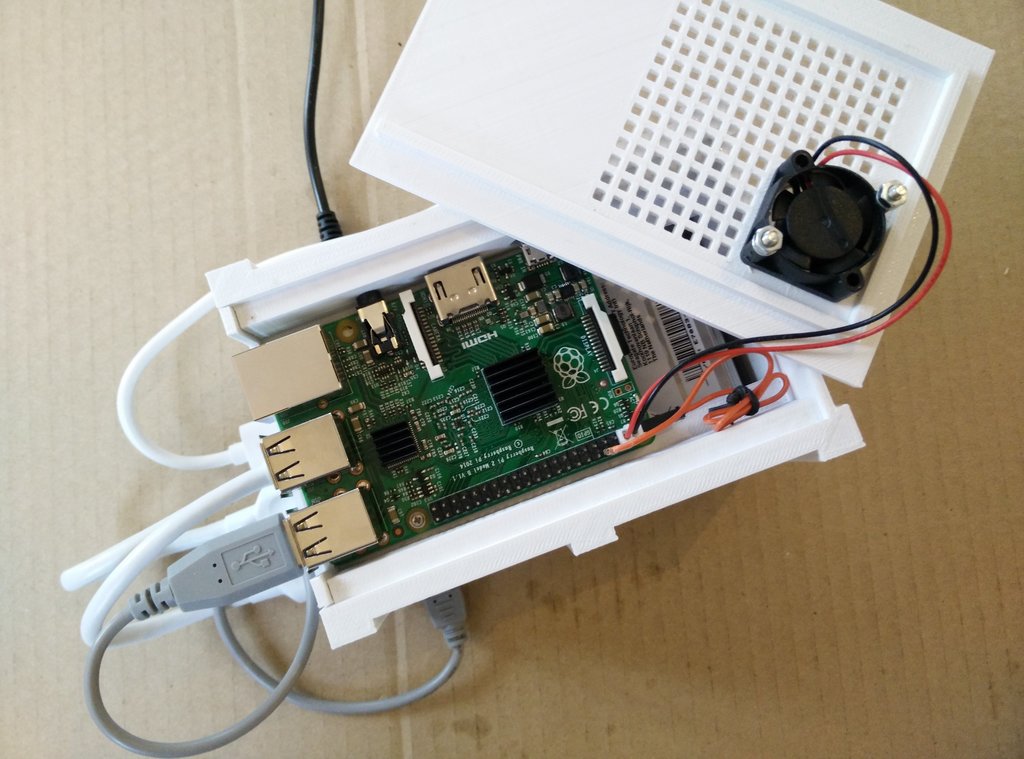
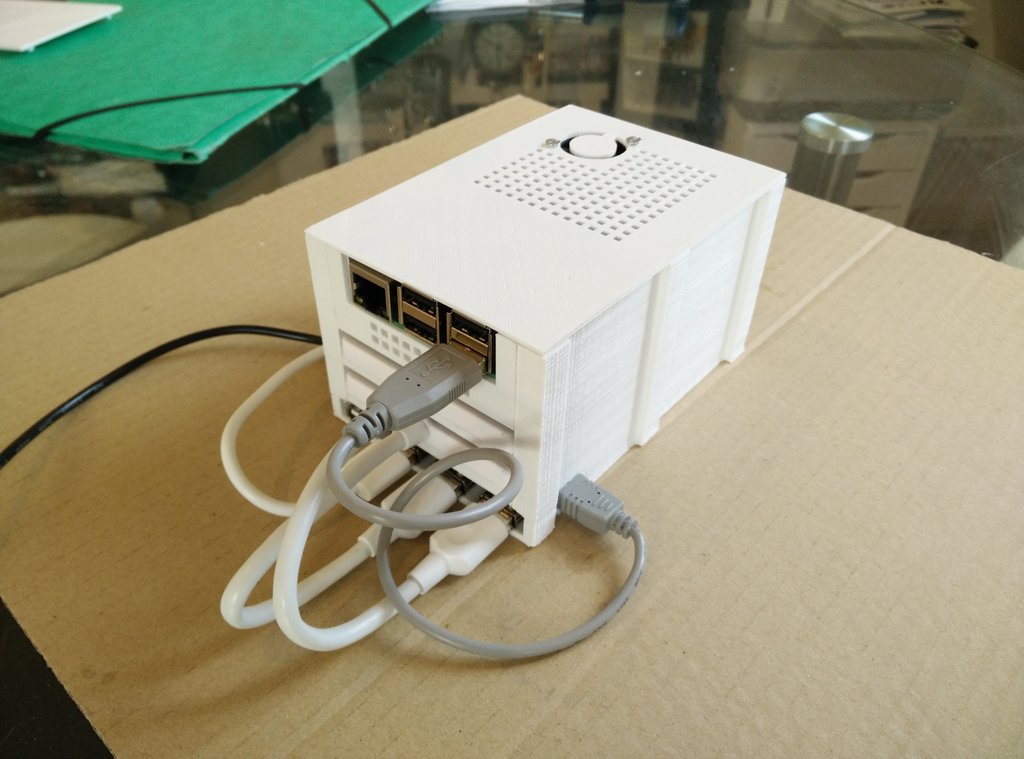
The case has 4 levels: a 4-port powered USB hub at the bottom, then two 2.5'' hard disks, and a Raspberry Pi on the top. The lid has a location for a 25mm*25mm fan, connected to one of the Pi's power pins.
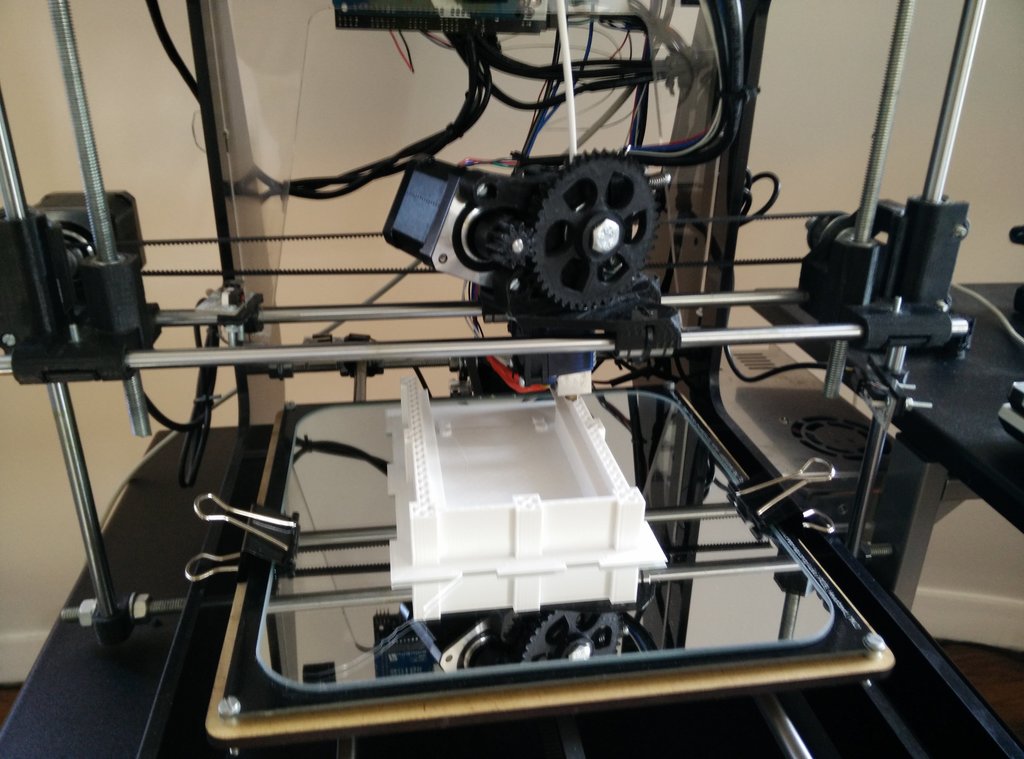
The models are designed to be printed without supports, so they can be printed directly as is. My printer is a Prusa Air 2 with an E3D-v6 head, and I use PLA.
Next, the front panel is glued to the case, the USB hub is installed with two screws at the bottom, and the Raspberry Pi with four screws at the top.
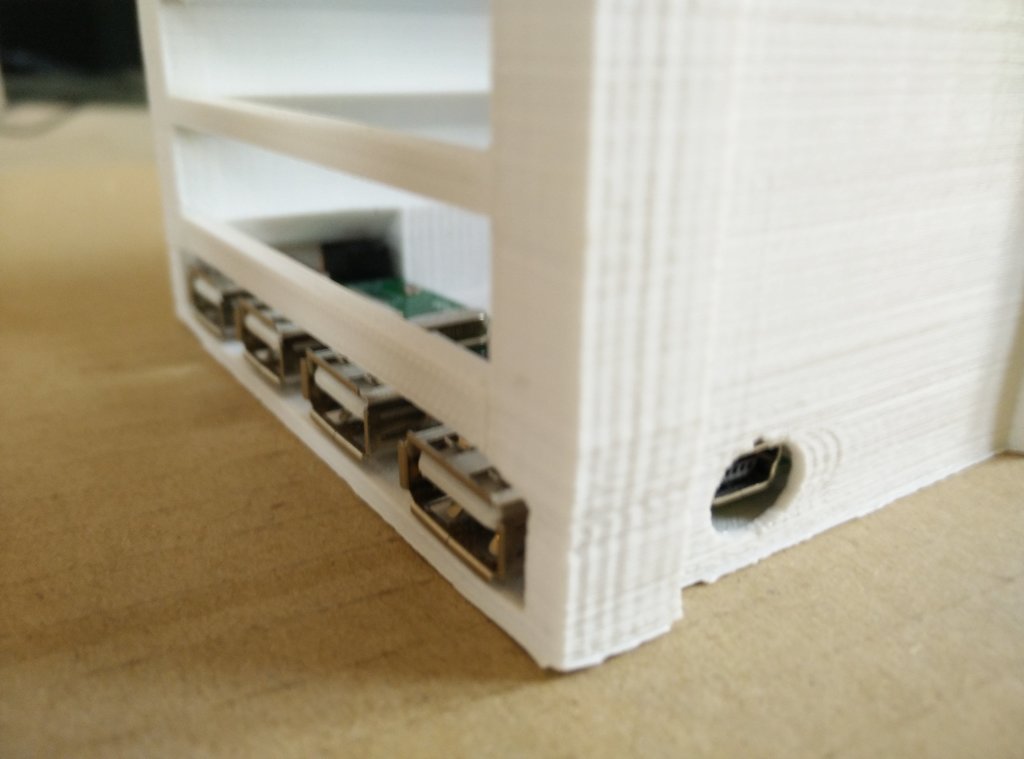
USB 2.0 hub in place into the NAS case, showing 4 USB ports on the front and the mini-B USB host port on the side. On the other side is the power input.
I chose to connect two 1 TB 2.5'' hard disks with two IB-AC6033-U3 adapters from RaidSonic. They come with a case yet it can only fit 7mm drives.
The final step is to attach the fan to the lid, connect it to one of the Pi's power pins, and close the lid by clipping it in place.
The NAS is now ready to run and can be configured! I chose to install Raspbian on the Pi's microSD card, and to set up the disks as RAID0 (of course, never do so if you plan to store critical data). I might write articles about configuration in the future, so stay tuned!

