A USB-controlled Furby
The original Furby from Tiger Electronics was a huge phenomenon at the end of the 1990s. In this article, we are going to replace a Furby's electronics to transform it into a USB-controlled puppet.
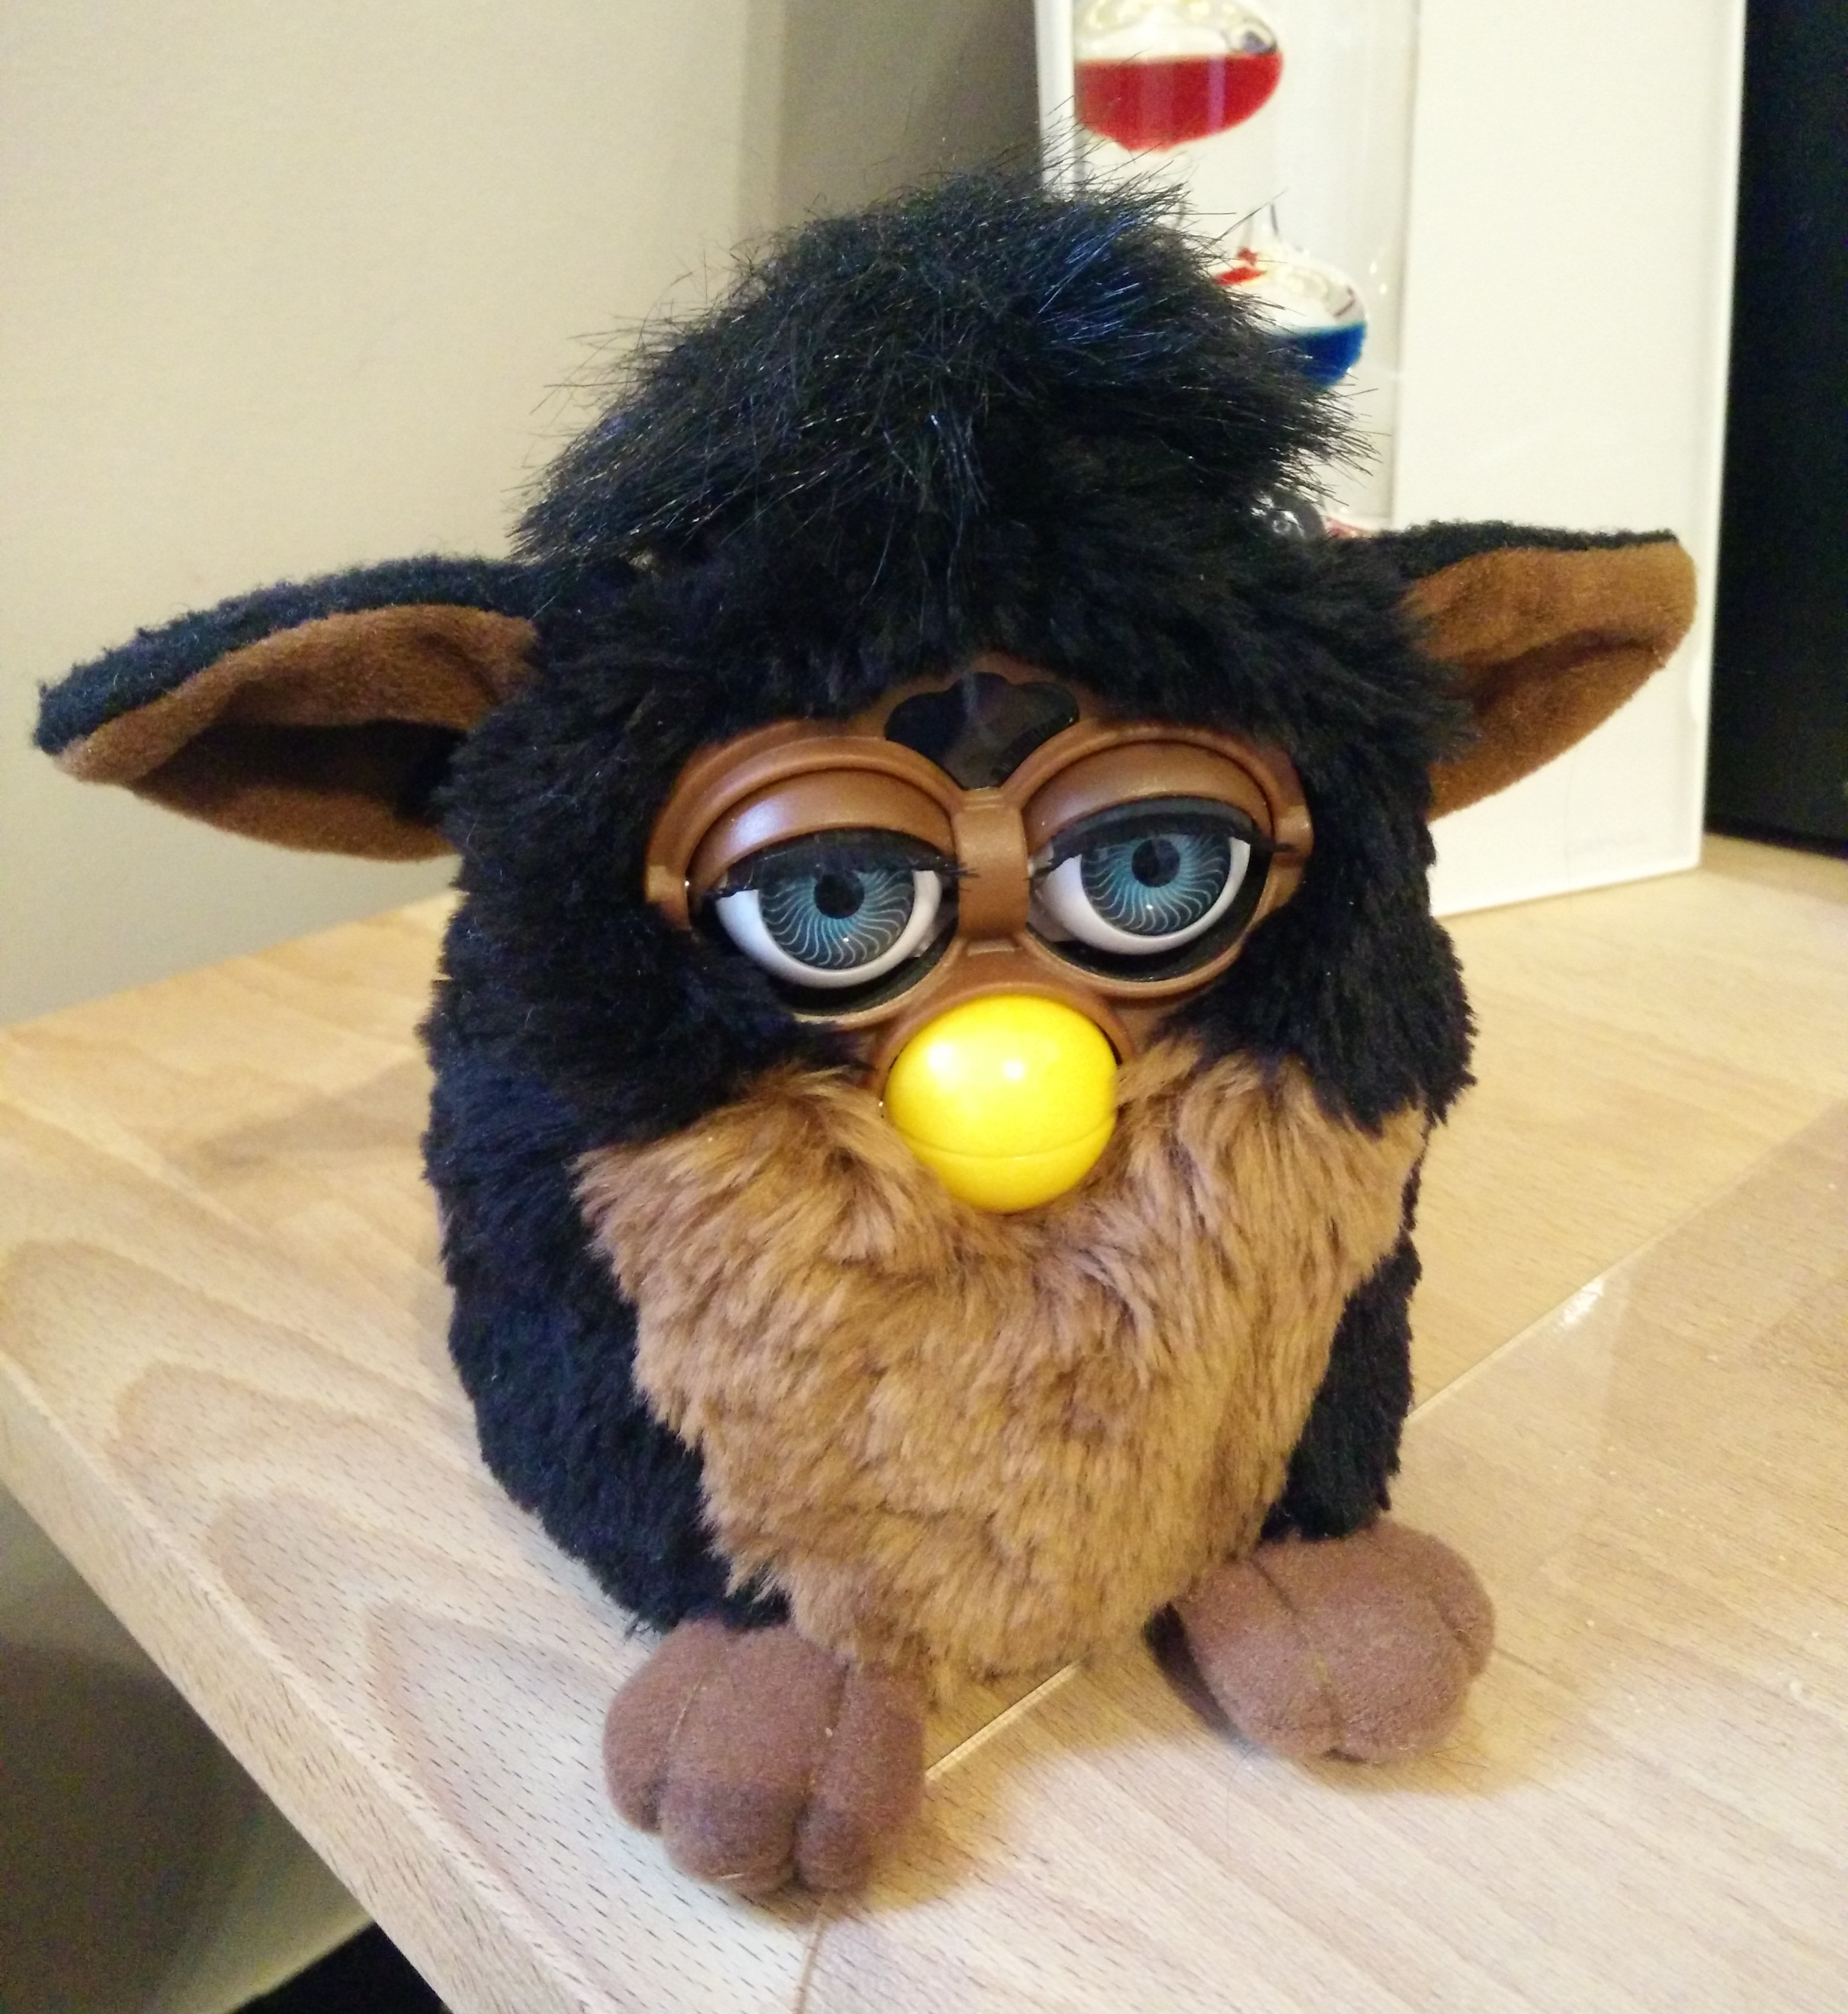
The blue-eyed brown-bellied cute horror
The little beaked Mogwais looked quite alive and faked learning processes pretty well. As electronic talking toys were still a novelty back then, its capacities were grossly over-estimated, especially among children. For instance, the microphone is limited to sensing the noise level to talk back when you talk to it, it is actually unable to differentiate noises, let alone interpret speech.
In reality, the technology was already old. As the patent indicates, Furbys were built around a 8-bit SunPlus SPC81A microcontroller, basically a crippled 6502 processor with 128 bytes of RAM (yes, bytes). The original MOS Technology 6502 processor was introduced in 1975 and became pretty popular because it was extremely cheap. For instance, the Atari 2600 and Apple II were both built around modified 6502 processors. It was a strong influence in the design of RISC architectures, in particular ARM processors. The voice synthesis is handled by a Texas Instruments …